Four Piece SVG Box Template Assembly Instructions
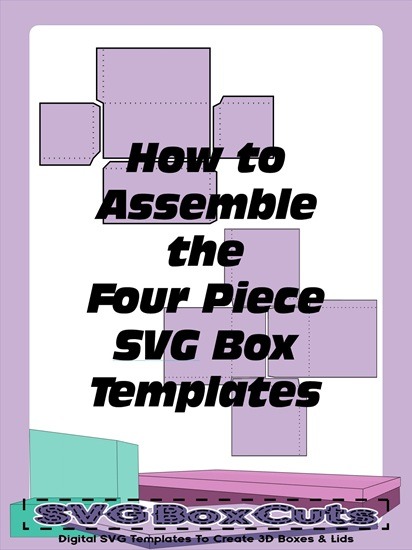
This page gives written instructions with pictures and a video showing how to assemble our “Four Piece” SVG box templates.
Four Piece SVG Box Template Assembly Instructions
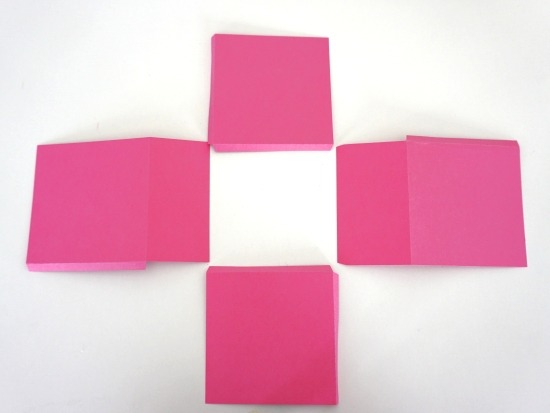
- Cut the templates using a cutting machine or scissors.
- Fold on all the dotted guide lines to create creases.
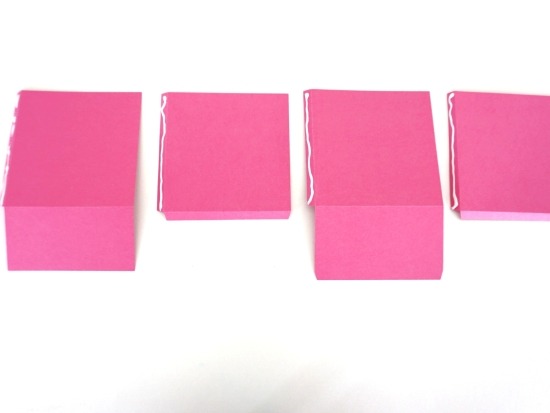
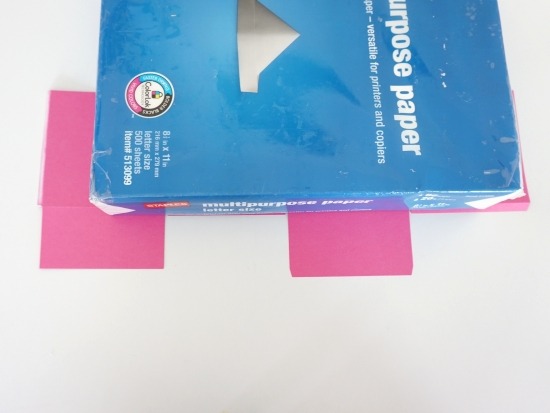
- Place glue and / or two sided tape on the outside of the small bottom tabs.
- Adhere one tab to the inside of the bottom panel.


- TIPS:
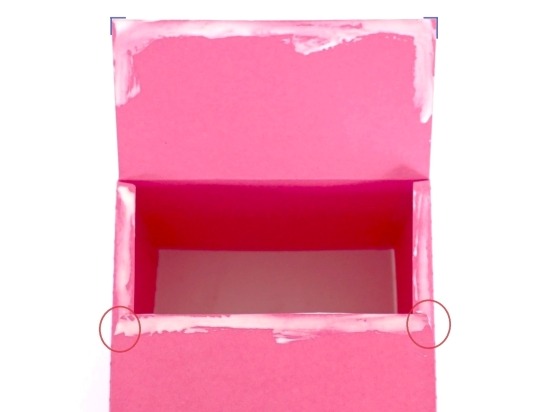
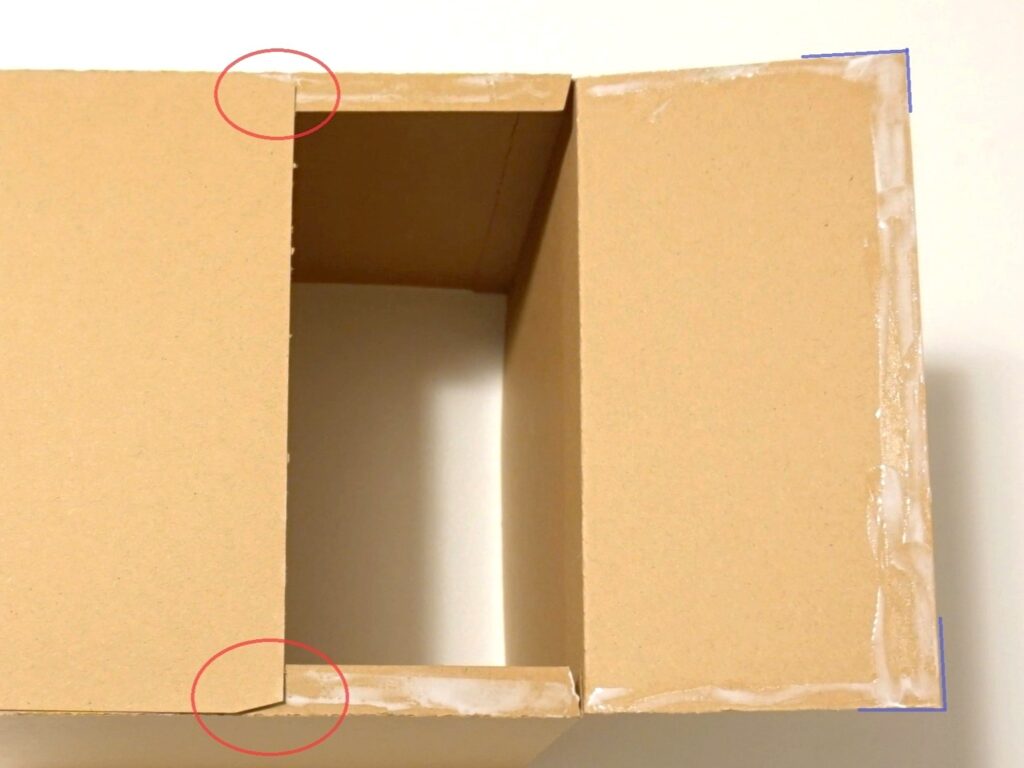
- If the templates get mixed up, you should NOT have two side tabs facing each other.
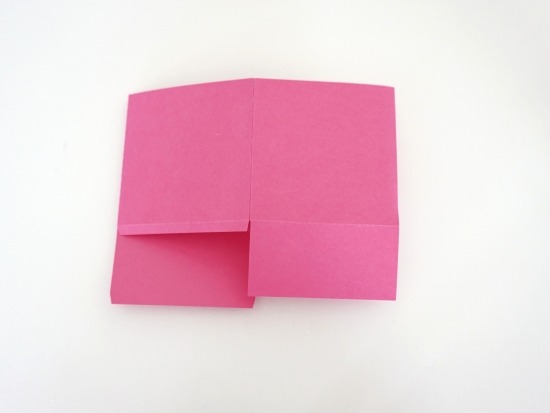
- Angles of two smaller templates should fit without overlapping. If you zoom in on the first pink picture you will see they line up next to each other. The second pink picture shows how the wrong assembly will overlap.


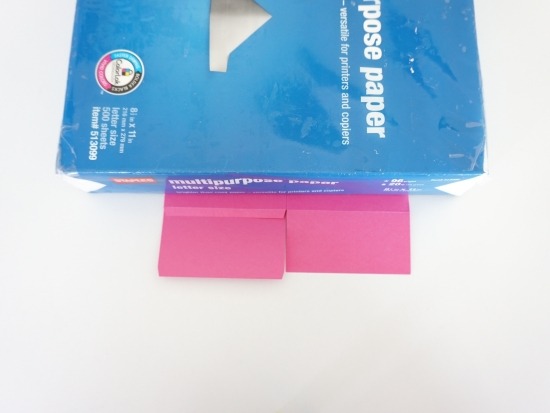
- Adhere another small bottom tab to the inside of the bottom panel. Repeat for the last template.
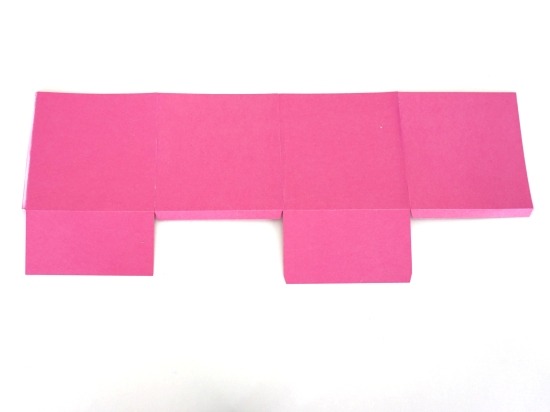
- Optional – Place a weight on the template until the bottom dries. This will help keep the pieces from shifting while assembling the sides.


- Place adhesive on the outside of the side tabs.
- Join the side tabs to the inside of the adjacent sides.


- Optional – Add clips to the corners while they dry.
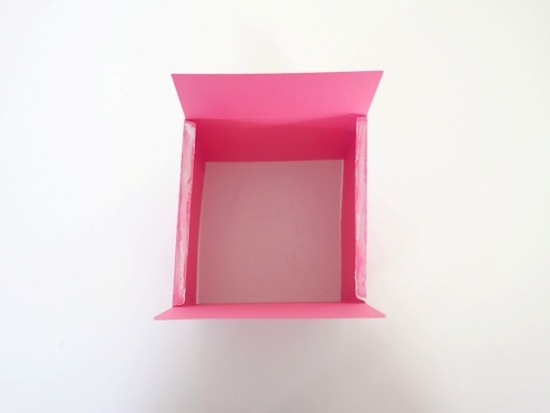
- The outside corners should be flush.


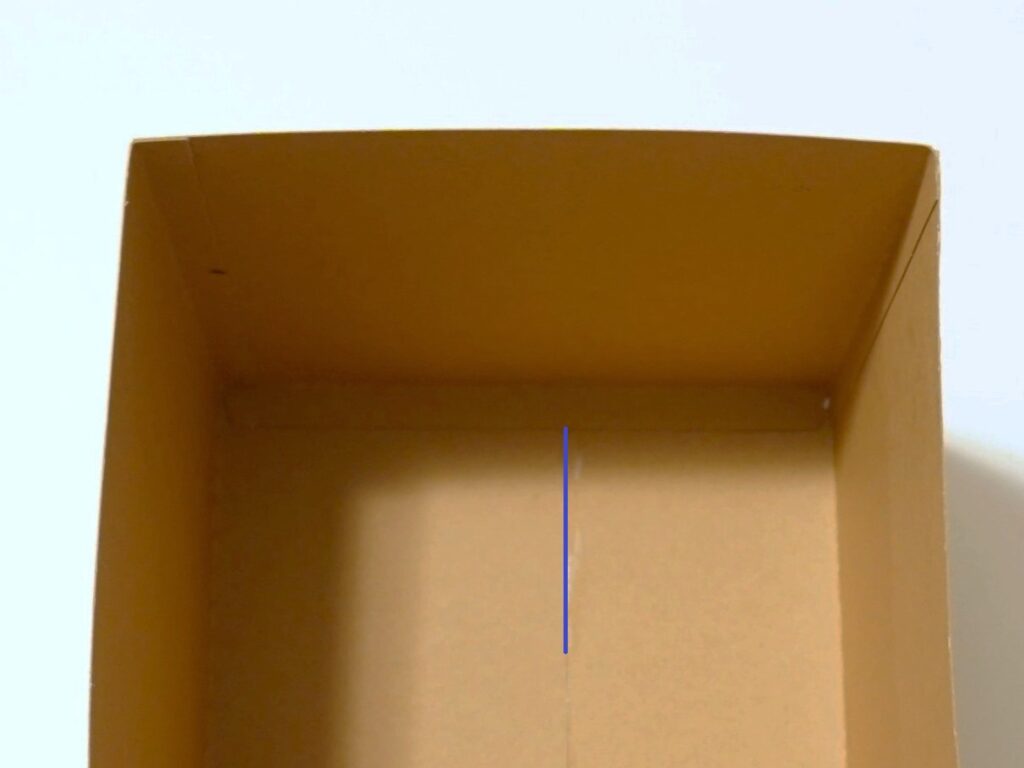
The inside bottom of the box will have seams.
You can cover the seam with the Free SVG Support Panel.
The outside bottom of the box will be solid without seams.
Four Piece B SVG Box Template Assembly Instructions
- Cut the templates using a cutting machine or scissors.
- Fold on all the dotted guide lines to create creases.
- Line up the top edges of all 4 panels, alternating short panels and long panels. Make sure the tabs are all on the same side.
- Place glue and / or two sided tape on the side tabs of 3 or 4 panels.
- Join the side tab to the panel next to it.
- Optional: Place a weight on the templates and allow glue to dry before continuing.
- Place adhesive on the final side tab and connect to the final side.
- Optional: Place a weight on the templates again, and all wait for the glue to dry completely for more stability when you assemble the bottom of the box.
Tip – Be careful you do not have excess glue squeezing out on the the inside of the box. It might make the inside stick together.
- Place adhesive on the bottom two small tabs.
- Place adhesive on the TOP of the tab on the longer bottom panel.
Tip – This area has slightly angled corners
- Adhere the final bottom panel to the bottom of the box.
Tip – Assembling the box in this way will give you a center seam on the outside of the box, and an off centered seam on the inside of the box.
- You can cover the inside seam with the support panel.